Getting Started
Prerequisites
Before you begin integrating the Banksy Payment SDK into your application, ensure that you have the following prerequisites in place:
- Node.js: Version 12.x or later is required. You can download it from Node.js official site.
- npm: The Node package manager, which comes with Node.js. Ensure it is up to date by running:
npm install -g npm - Banksy Dashboard Account: You need to sign up and create an account on the Banksy Dashboard to obtain your
CLIENT_KEYandCLIENT_SECRET.
Setting Up a Banksy Dashboard Account
To use the Banksy Payment SDK, you need to create a Banksy Dashboard account and generate your API keys. Follow these steps:
-
Navigate to the Banksy Dashboard:
Open your web browser and go to the Banksy Dashboard.
-
Sign Up for an Account:
On the login page, click on the Sign Up link.
Fill in your details, including your name, email address, and password.
Agree to the terms of service and privacy policy, then click Sign Up.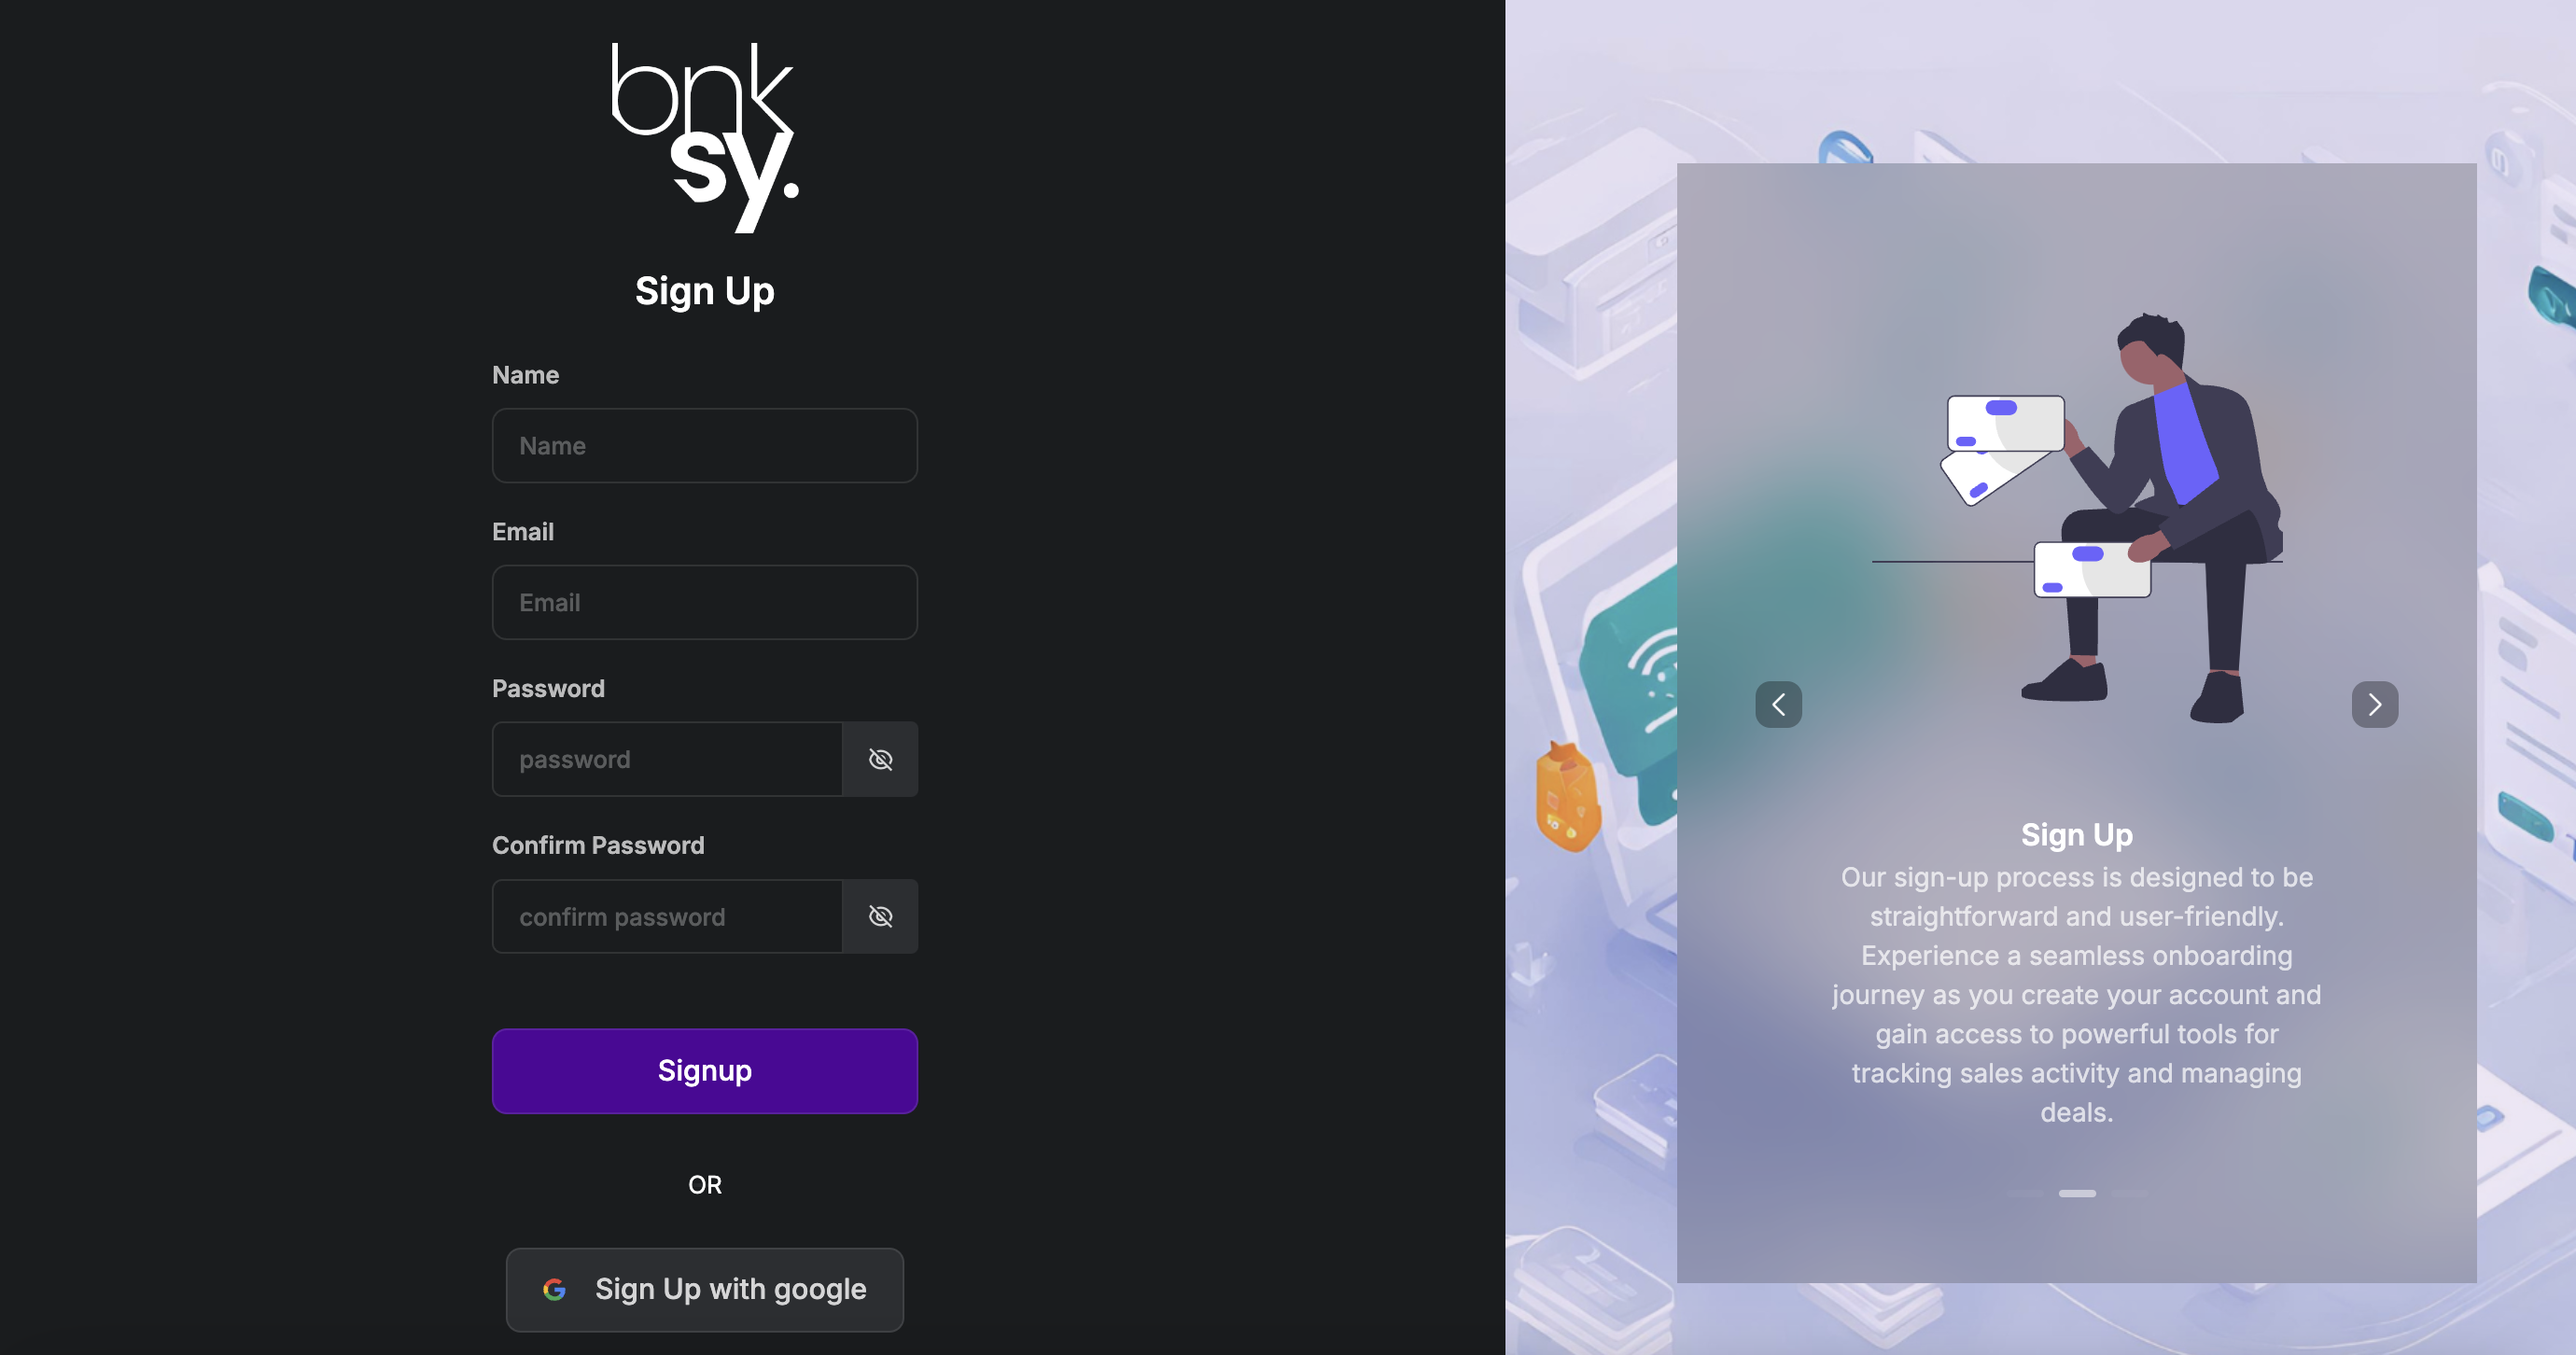
-
Verify Your Email Address:
After signing up, you will receive a verification email.
Open the email and click on the verification link to activate your account. -
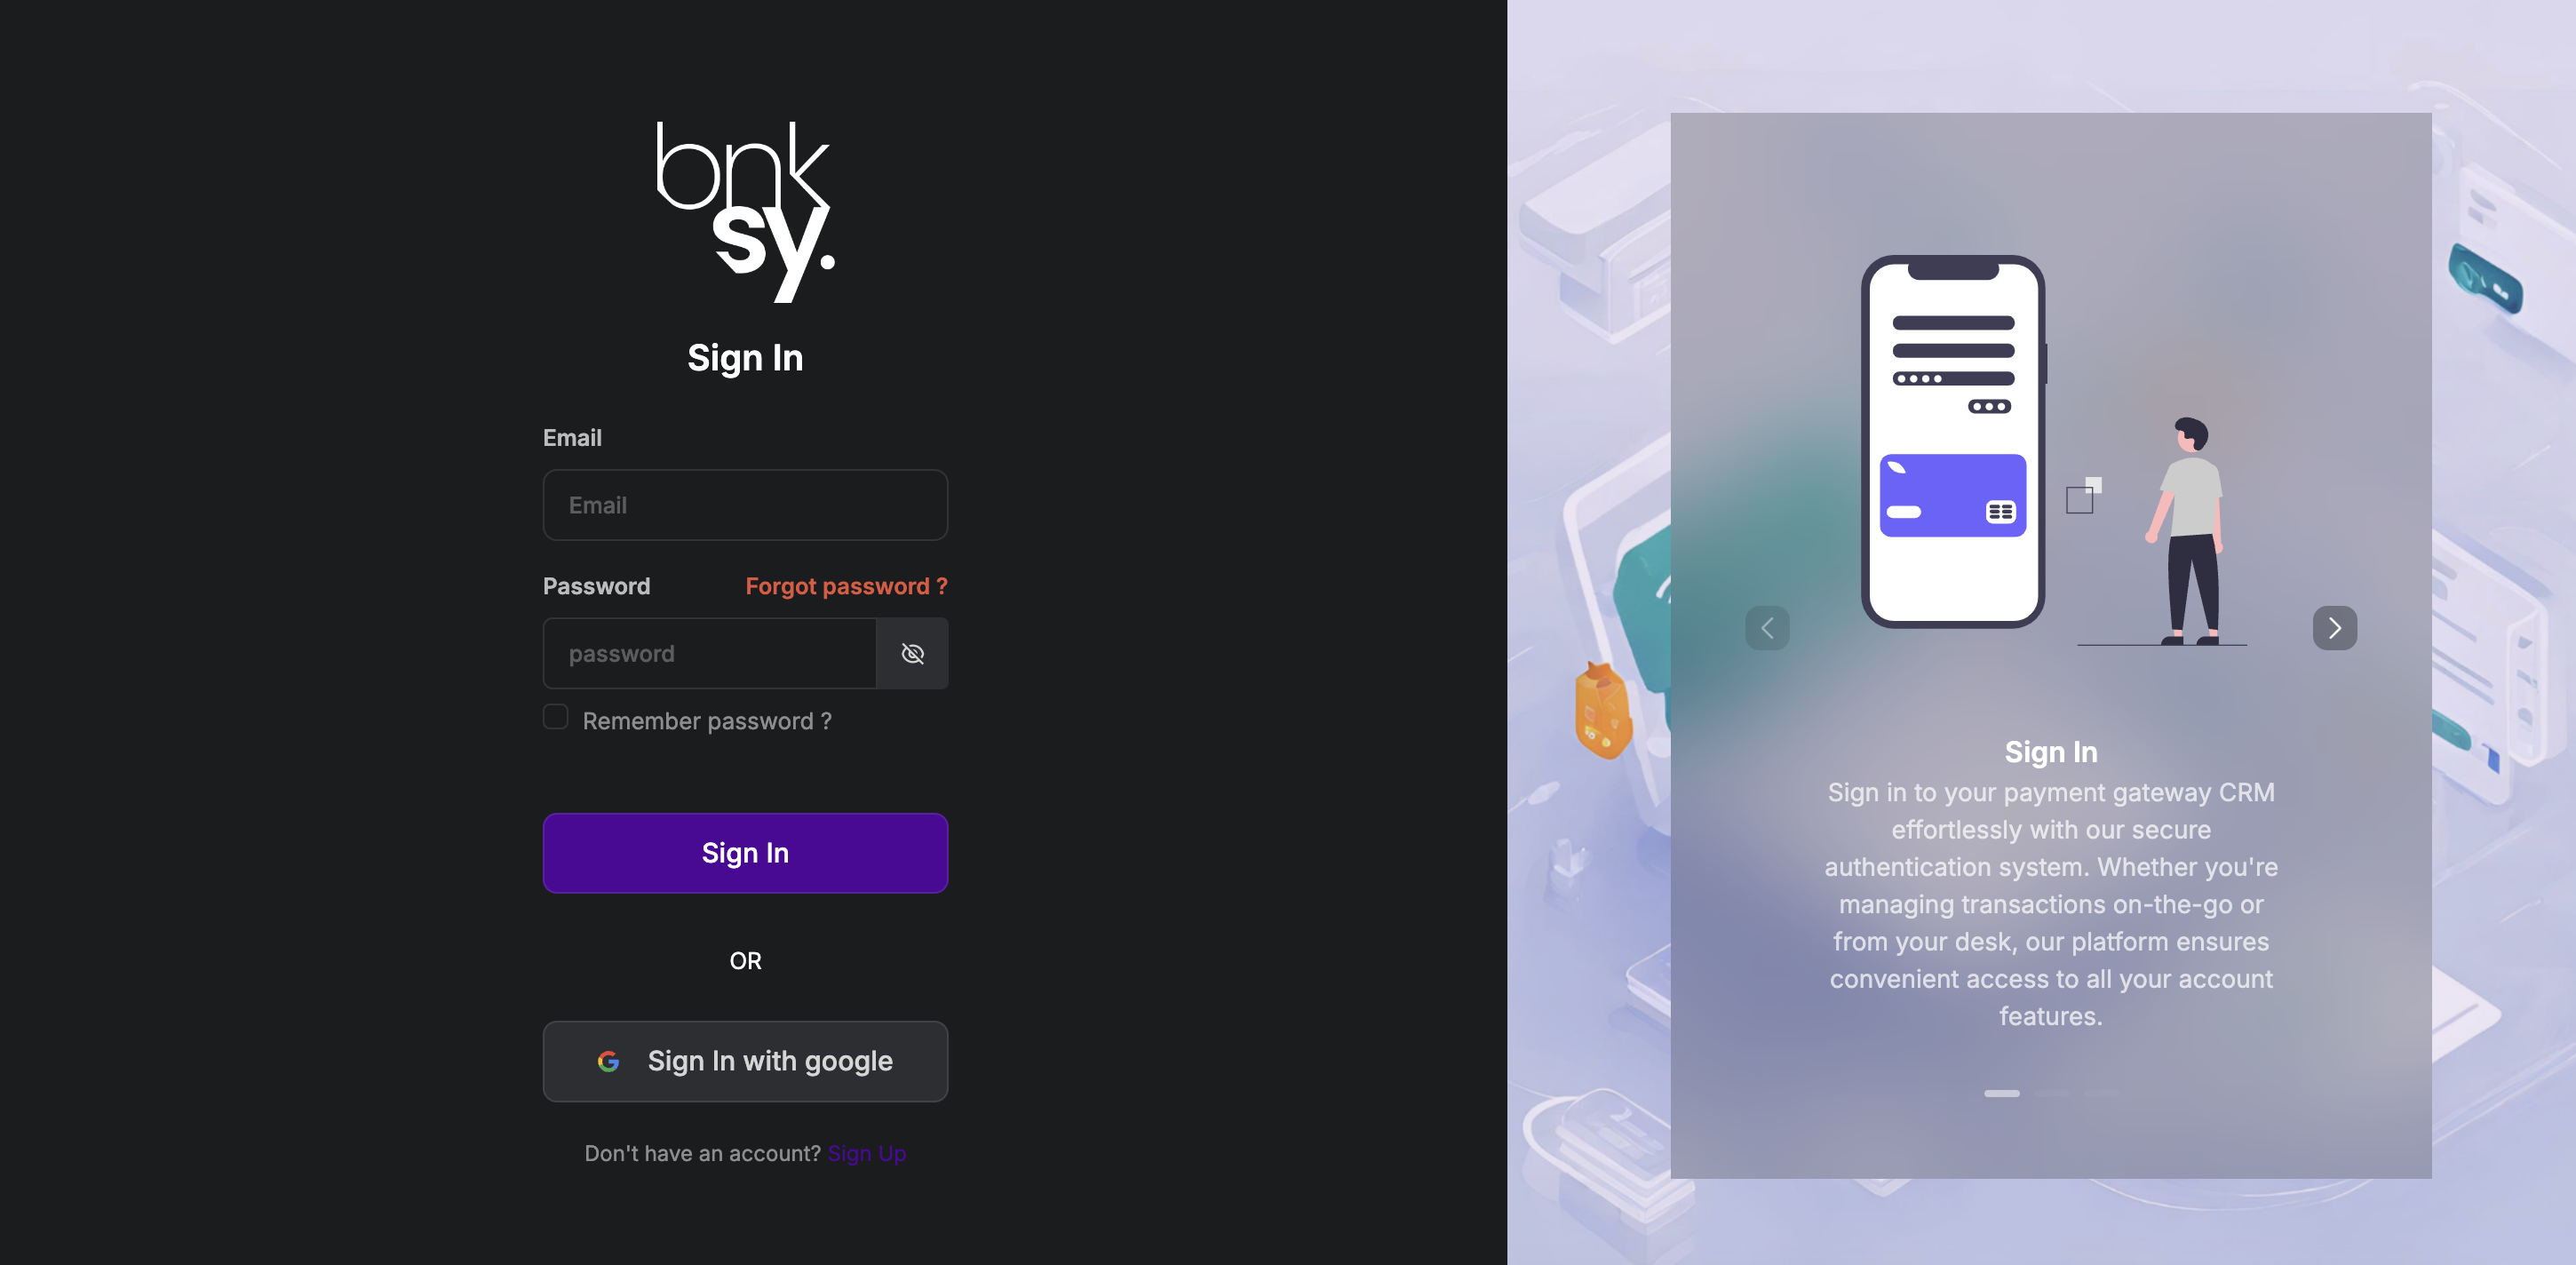
Log in to Your Account:
Return to the Banksy Dashboard and log in using your email and password.
-
Generate API Keys:
After logging in, follow these steps to generate your API keys:
-
Navigate to the API Keys section within the Dashboard.
-
Click on Create API Key to begin the process.
-
Customize your API Key by setting the following options:
- Name: Give your API Key a descriptive name for easy identification.
- Environment: Choose between Production or Test based on your needs.
- Expiry Date: Optionally, set an expiration date for the API Key if you want it to be time-bound.
- Currency Type: Select the currency type—either Fiat or Crypto—that the API Key will support.
- Webhooks: Configure the webhook URL(s) to receive real-time notifications of payment events. You can set up separate URLs for different environments or types of notifications (e.g., payment success, payment failure).
-
Once configured, confirm your settings to generate the API Key.
-
You will be provided with a
CLIENT_KEYand aCLIENT_SECRET. Ensure you store these securely, as they are essential for SDK configuration and should be treated with the highest level of security. -
Additional Configuration (Optional):
Explore the dashboard to configure additional settings, such as webhooks, payment providers, and regional settings.
Installation Guide
Once you have your API keys, follow these steps to install the Banksy Payment SDK:
-
Initialize Your Project (if you haven’t already):
mkdir my-payment-app
cd my-payment-app
npm init -y -
Install the SDK:
npm i banksy-sdk --save -
Verify Installation: Ensure the package is installed by checking your
package.json:{
"dependencies": {
"banksy-sdk": "^1.0.0"
}
}
Setup and Initialization
After installing the SDK, you need to set it up in your application. Follow these steps:
-
Import and Initialize the SDK: In your main JavaScript file (e.g.,
index.js,app.js), import the SDK and initialize it with your CLIENT_KEY:import { Banksy } from "banksy-sdk";
const banksy = new Banksy("YOUR_CLIENT_KEY");
export default banksy; -
Create a Helper File: To avoid multiple initializations of the SDK, it’s recommended to create a separate helper file (e.g.,
banksy.js):// banksy.js
import { Banksy } from "banksy-sdk";
const banksyInstance = new Banksy("YOUR_CLIENT_KEY");
export default banksyInstance; -
Integrate into Your Application: Use the
banksyInstancein your components or services to manage payment operations. For example:import banksy from './banksy';
async function createPayment(payload) {
try {
const paymentData = await banksy.createPayment(payload);
console.log("Payment Created: ", paymentData);
} catch (error) {
console.error("Error creating payment: ", error);
}
}
Quick Start Example
Here’s a quick example to get you started with creating a payment:
-
Create a Payment Payload:
const paymentPayload = {
    amount: 100,
    currency: "USD",
    successCallback: "https://yourdomain.com/success",
    failureCallback: "https://yourdomain.com/failure",
    currencyType: "fiat",
    isKycOptional: false
}; -
Create and Process the Payment:
import banksy from './banksy';

async function processPayment() {
    try {
        const paymentData = await banksy.createPayment(paymentPayload);
        console.log("Payment Link: ", paymentData.paymentLink);
        // Redirect user to the payment link
        window.location.href = paymentData.paymentLink;
    } catch (error) {
        console.error("Payment failed: ", error);
    }
}

processPayment();