Slack
This guide provides step-by-step instructions on how to set up and use Slack notifications with our application.
Obtaining a Slack Webhook URL
Step 1: Create a Slack App
- Navigate to the Slack API Apps Page.
- Click Create an App.
- Choose From scratch.
- Enter a name for your app (e.g., Notification Bot) and select the Slack workspace where the app will be used.
- Click Create App.
Step 2: Configure Incoming Webhooks
- After creating the app, you will be redirected to the app's settings page.
- Under the Features section in the left-hand menu, click Incoming Webhooks.
- Toggle the switch to Activate Incoming Webhooks.
Step 3: Add a New Webhook to a Workspace
- Scroll down to the Webhooks section and click Add New Webhook to Workspace.
- You will be redirected to a permissions page.
- Select the channel where you want to post notifications and click Allow.
- Once authorized, you will be provided with a Webhook URL.
Example:
https://hooks.slack.com/services/T00000000/B00000000/XXXXXXXXXXXXXXXXXXXXXXXX - Copy this URL and save it securely; it will be used in your application to send messages to the selected channel.
Step 4: Test the Webhook URL
To ensure that the Webhook URL is functioning as expected:
- Use a tool like curl or Postman to send a test message:
curl -X POST -H 'Content-type: application/json' \
--data '{"text":"Hello, this is a test notification!"}' \
<your-webhook-url>
- Confirm that the test message appears in the Slack channel.
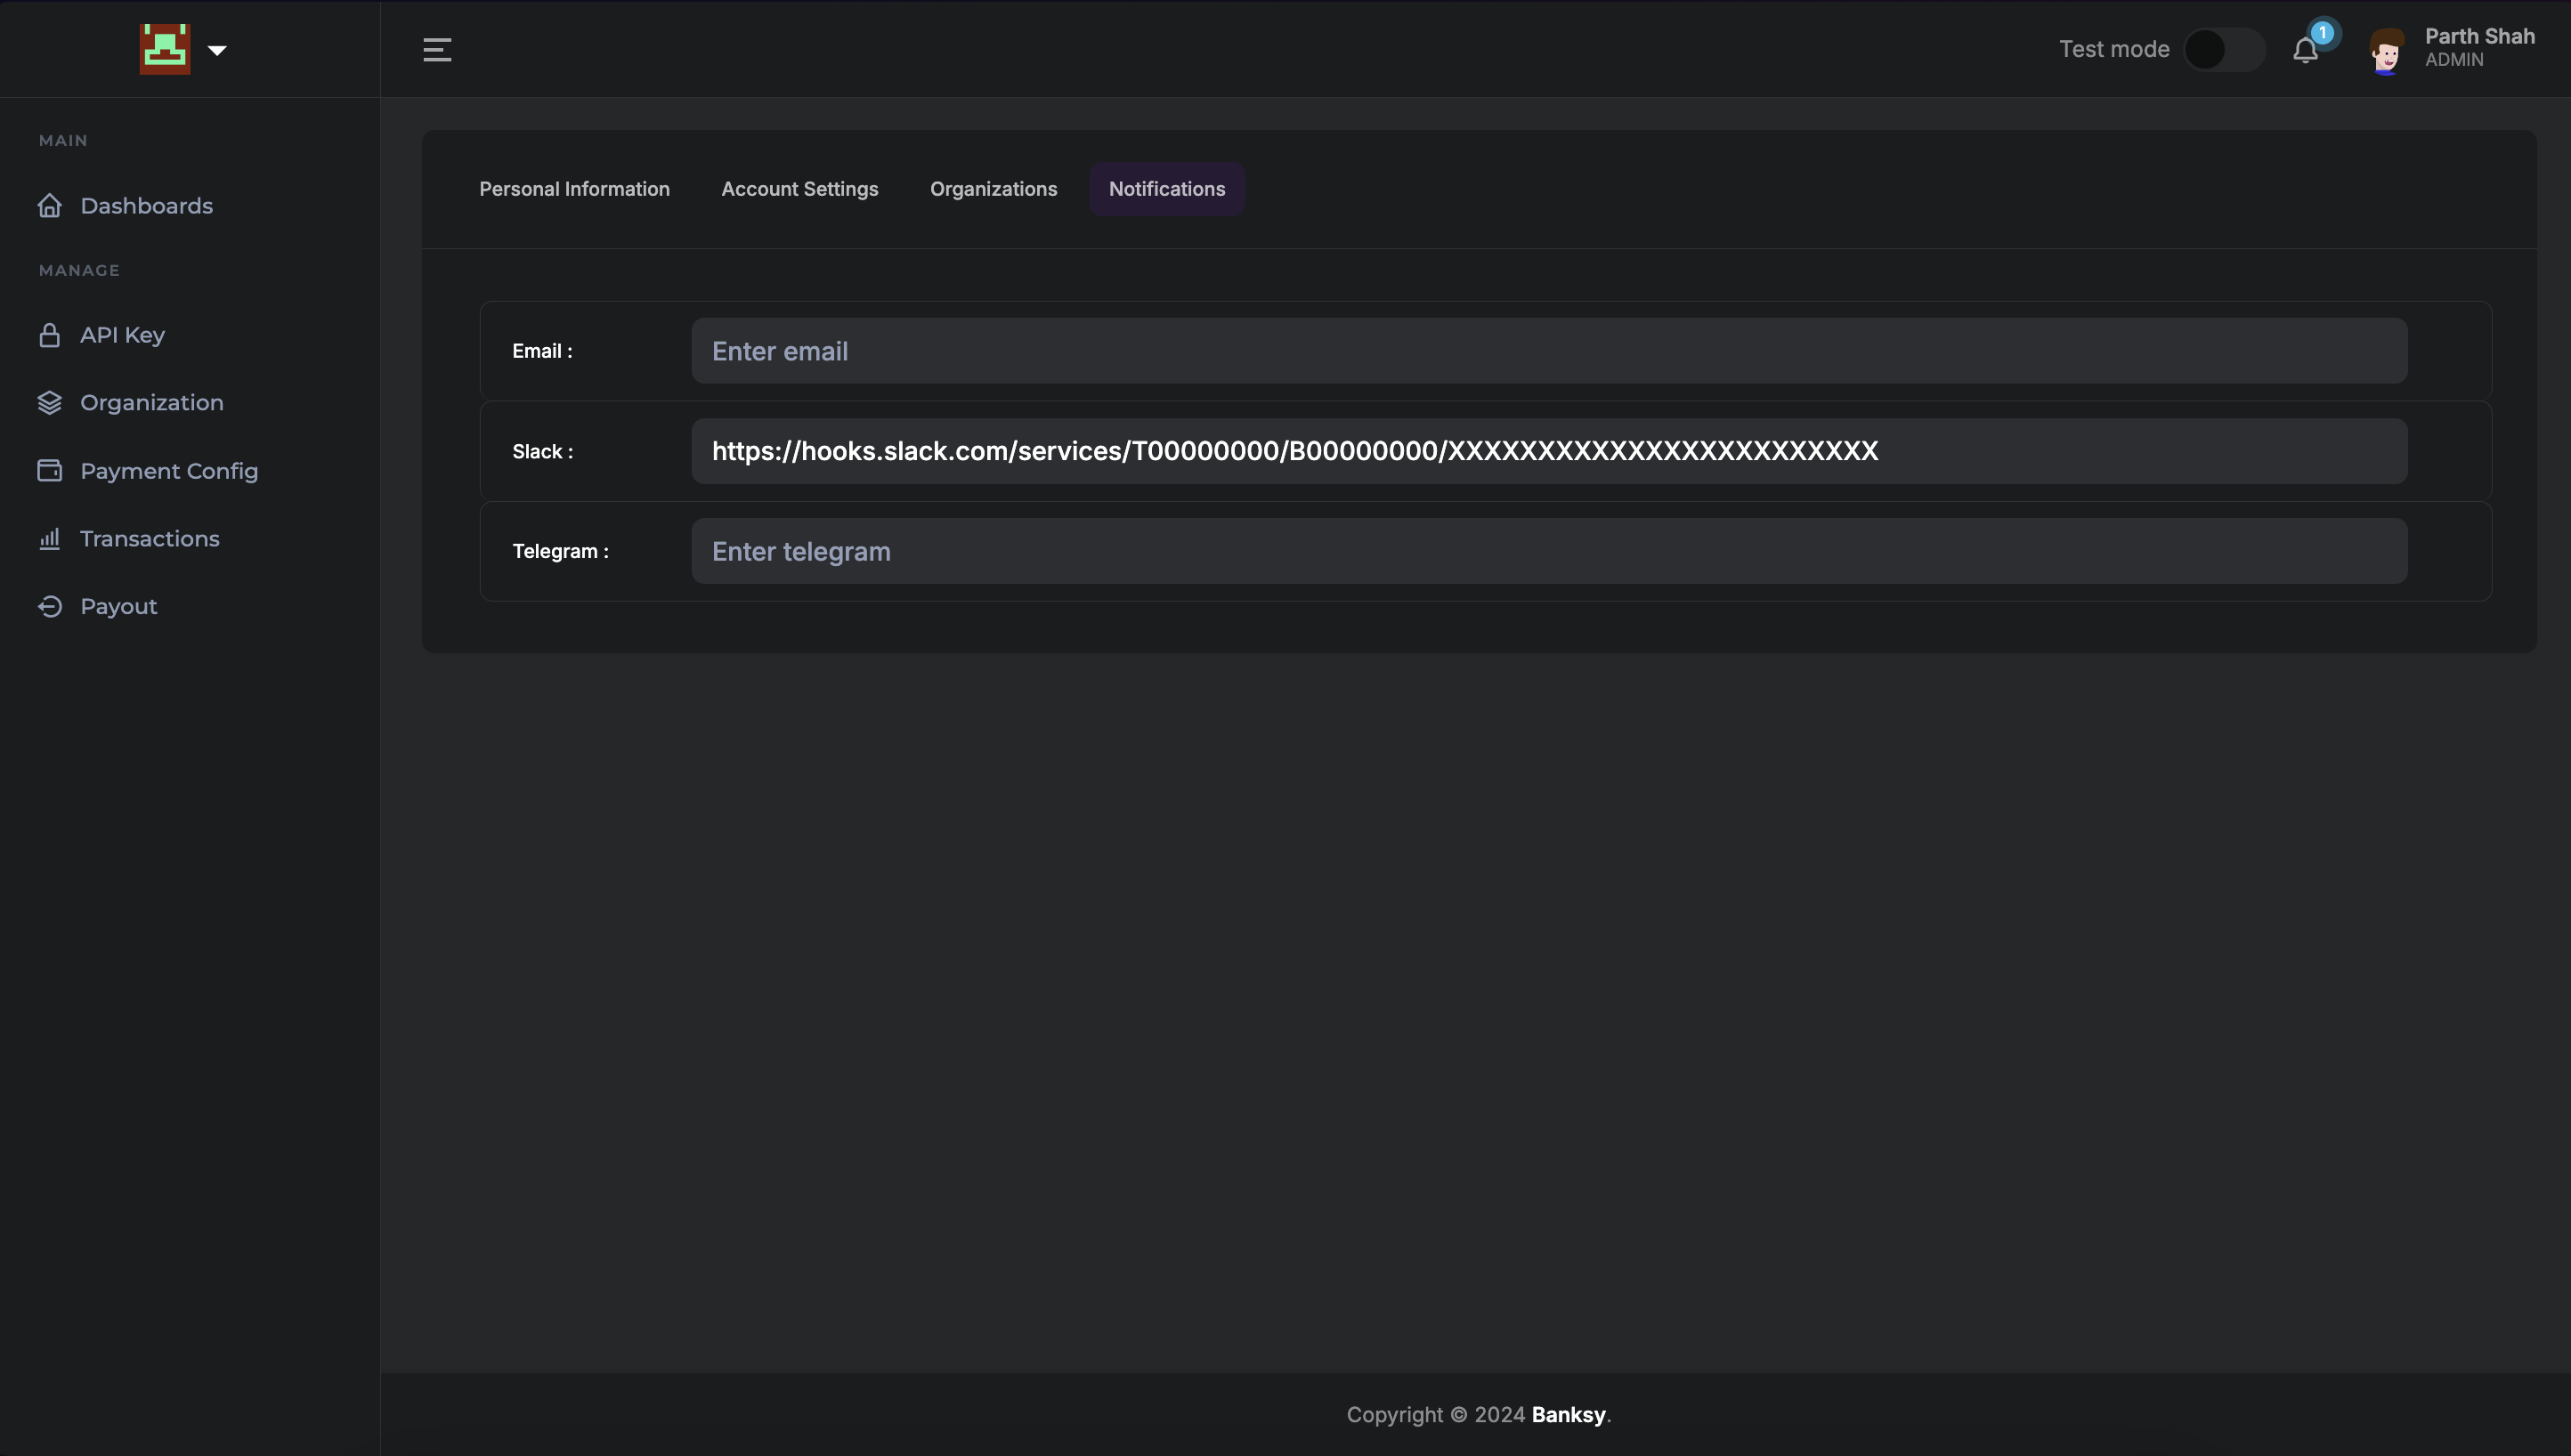
Step 5: Configure webhook in the dashboard
Add the Webhook URL to your notification settings :
- Navigate to Banksy Dashboard Profile.
- Click on Notifications section.
- Add the Webhook URL to the Slack field.